
Building your first website may seem intimidating at first, but with a clear plan and the right tools, anyone can create a professional and functional site. Whether you’re starting a personal blog, showcasing your portfolio, or launching an online business, following a step-by-step approach ensures that your website is well-structured, visually appealing, and optimized for users and search engines alike.
This guide will walk you through everything from choosing a domain name and hosting to designing, adding content, testing, publishing, and keeping your website updated so you can confidently bring your online presence to life.
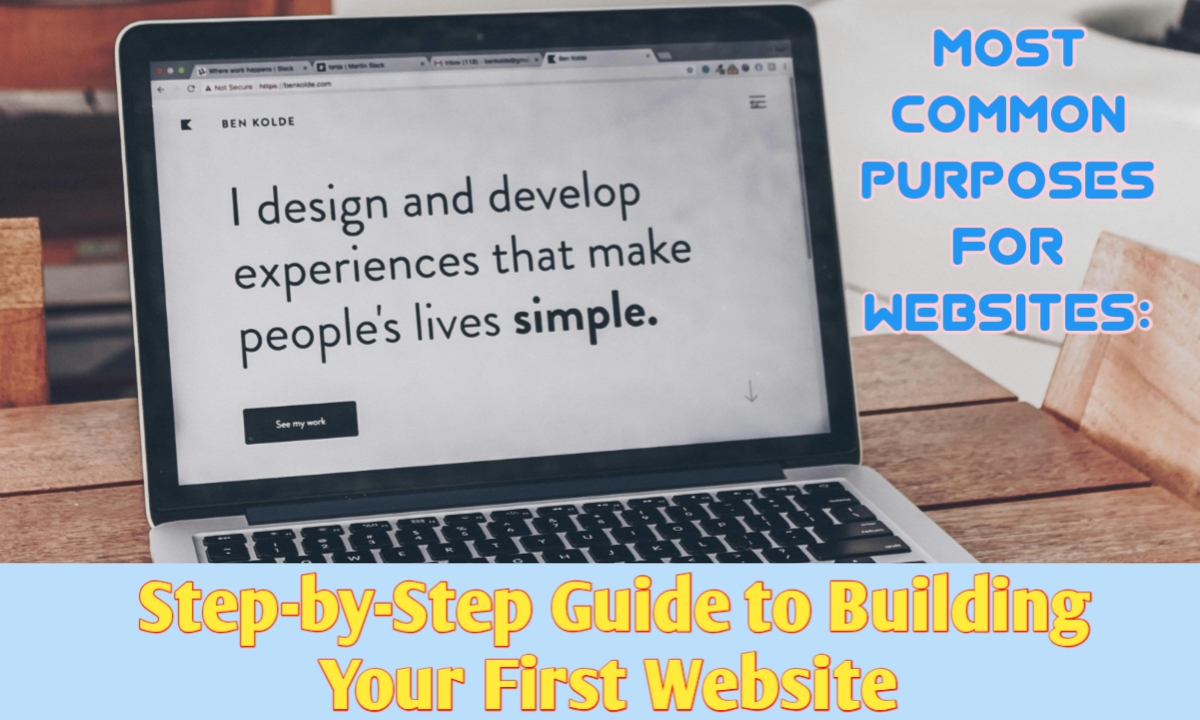
Step 1: Decide the Purpose of Your Website
Before you start building, you need to clearly define why you want a website. Your purpose will shape everything else design, features, and content.
Here are the most common purposes for websites:
- Personal Branding – Share your portfolio, resume, or blog to showcase your skills and experiences.
- Business Website – Provide information about your company, services, and products to attract customers.
- E-commerce Store – Sell products or services directly online with shopping cart and payment options.
- Blog or Content Hub – Publish articles, guides, or news to share knowledge and attract readers.
- Educational / Online Courses – Offer tutorials, lessons, or online training programs.
- Community / Forum – Build a space for discussions, support groups, or niche communities.
- Entertainment / Media – Share videos, music, photography, or creative projects.
- Non-Profit / Cause – Promote awareness, share updates, and gather donations or volunteers.
Step 2: Choose a Domain Name & Hosting
Your domain name is your website’s address (like example.com).
Tips for choosing a good one:
- ✅ Keep it short & simple – Easy to type and remember.
- ✅ Relevant to your purpose – Reflect your brand, niche, or service.
- ✅ Use keywords – Helps with SEO (e.g., bestcakes.com).
- ✅ Avoid numbers & hyphens – They make domains harder to remember.
- ✅ Pick the right extension – .com is most common, but you can use .org, .net, or niche ones like .store or .tech.
Step 3: Select a Website Building Method
When you’ve decided the purpose of your website and chosen a domain + hosting, the next step is to select a website building method. Here are the main options you can choose from:
Website Builders (No-Code Tools)
- Examples: Wix, Squarespace, Weebly, Shopify (for eCommerce)
- Pros: Easy drag-and-drop, no coding needed, templates included.
- Best For: Beginners, small businesses, portfolios, personal blogs.
Step 4: Plan Your Website Structure

Planning your website structure is an essential step to ensure a smooth user experience and better search engine visibility.
A well-organized structure makes it easy for visitors to find what they’re looking for while guiding them toward your goals, whether that’s reading your content, exploring your services, or making a purchase.
- Under Services: individual service pages (e.g., Web Design, SEO, Marketing).
- Under Products: categories (e.g., Electronics → Mobile, Laptop, Accessories).
- Under Blog: categories (e.g., Tips, Tutorials, Case Studies).
Example for a business site:
Home
├── About
├── Services
│ ├── Web Design
│ ├── SEO
│ └── Marketing
├── Blog
│ ├── Tips
│ └── Case Studies
└── Contact
Step 5: Design & Build the Website
Designing and building your website is where your ideas start to take shape. Begin with a clean, user-friendly design that matches your brand identity, using consistent colors, fonts, and layouts. Focus on creating pages that are easy to navigate and responsive across all devices. If you’re using a website builder or CMS, choose a theme or template and customize it to fit your needs.
For a more advanced site, you can design custom layouts using HTML, CSS, and JavaScript, or frameworks like React or Laravel. Make sure to include essential features such as clear menus, contact forms, search functionality, and calls-to-action that guide visitors through your site. Throughout the building process, always keep the user experience and your website goals in mind.
- Select a theme or template if using WordPress, Wix, or Shopify.
- Or, if coding, set up your framework (HTML/CSS, React, etc.)
Step 6: Add Content
Plan Your Content
- Define your target audience and what they expect from your site.
- Decide on the type of content: text, images, videos, infographics, or downloads.
- Homepage → short intro + value statement + main CTA.
- About Page → who you are, your story, mission, achievements.
- Services/Products Page → detailed descriptions, benefits, pricing.
- Blog/Resources → useful, engaging articles that provide value.
- Contact Page → simple contact form, email, phone, location, social links.
Step 7: Test Your Website
Step 1: Check Functionality
- Test all links, buttons, and menus.
- Fill out forms (contact, signup, checkout) to make sure they work.
- Verify search bars, filters, and interactive features.
Step 2: Test Across Devices & Screens
- View your site on mobile, tablet, and desktop.
- Check different screen sizes (responsive design).
Step 3: Browser Compatibility
- Test on Chrome, Safari, Firefox, Edge (and older versions if needed).
- Make sure layout and fonts display consistently.
Step 4: Speed & Performance
- Check loading time (aim for under 3 seconds).
- Compress images and optimize scripts if needed.
- Use free tools like Google PageSpeed Insights or GTmetrix.
Step 5: Content & Design Review
- Proofread for spelling/grammar mistakes.
- Ensure formatting, colors, and fonts look professional.
- Double-check images, icons, and videos load correctly.
Step 8: Publish Your Website
Publishing your website is the final step that brings your project to life and makes it accessible to the world. Before going live, review your content, check that all links, forms, and features work correctly, and ensure your design looks great on every device. Connect your domain name to your hosting service, enable SSL for security, and optimize your pages with SEO basics so search engines can find you easily.
Once everything is set, hit the publish button or upload your site to your server. After launch, test your website again, share it across social media, and start monitoring visitor activity. With this, your website is officially live and ready to welcome its first audience.
🔹 Step 1: Final Review
- Proofread all text for errors.
- Double-check all links, forms, and buttons work properly.
- Confirm your design looks good across devices and browsers.
🔹 Step 2: Connect Domain & Hosting
- Log in to your domain registrar (GoDaddy, Namecheap, etc.).
- Point your domain to your hosting server (update DNS settings).
- If using a builder like Wix or Squarespace, connect your domain directly inside settings.
🔹 Step 3: Go Live
- Hit the Publish button in your builder OR upload files to your hosting server.
- Wait a few hours for DNS to propagate (if using a custom domain).
Step 9: Optimize for SEO (Search Engine Optimization)
Optimizing your website for SEO is essential to improve its visibility on search engines and attract more visitors. Start by researching the right keywords your audience is searching for and naturally include them in your titles, headings, and content. Make sure each page has a unique meta title and description, and use alt text for all images so search engines can understand them. Improve user experience by ensuring fast loading speeds, mobile-friendly design, and easy navigation.
Internal linking between related pages helps visitors and search engines explore your site better, while backlinks from reputable sites can boost your authority. Finally, submit your sitemap to Google Search Console to help your site get indexed quickly. By applying these SEO practices, your website stands a much better chance of ranking higher and reaching more people.
Step 10: Keep Updating Your Website
Keeping your website updated is crucial to maintain its relevance, performance, and engagement with visitors. Regularly add fresh content such as blog posts, new products, or updated services to keep your audience interested. Update images, videos, and design elements to reflect your latest branding and trends. Perform routine maintenance by checking for broken links, outdated plugins, or software updates to ensure security and smooth functionality. Staying consistent with updates not only improves user experience but also helps your website rank better on search engines over time.
Step 1: Regularly Add Fresh Content
- Publish new blog posts, articles, tutorials, or case studies.
- Update product or service pages with new offerings or features.
- Add news, events, or announcements to keep visitors engaged
Step 2: Refresh Visuals & Design
- Update images, banners, and videos to match current branding.
- Revise layout or color schemes if needed for a modern look.
- Ensure all visuals are optimized for speed.
Step 3: Check & Fix Functionality
- Test links, forms, buttons, and interactive elements.
- Update plugins, themes, or website software to the latest versions.
- Backup your website regularly to prevent data loss.
Step 4: Improve SEO Continuously
- Add new keywords relevant to your updated content.
- Refresh meta titles, descriptions, and alt tags for images.
- Monitor search rankings and traffic using tools like Google Analytics
Step 5: Engage Your Audience
- Respond to comments, messages, or inquiries promptly.
- Encourage visitors to subscribe, share, or follow your updates.
- Track which pages or content perform best and focus on improving them.